At BlinkOn 20 in 2025, I introduced our experimental work on bringing Blink to Apple tvOS. You can also find a blog post covering that initial work here: https://blogs.igalia.com/gyuyoung/2026/05/09/introduce-blink-for-apple-tvos/.
If you’re interested in the background and early prototype, you can find more details in my previous post on Blink for iOS and related work: https://blogs.igalia.com/gyuyoung/2024/08/08/chrome-ios-browser-on-blink/.
Over the past year, we have continued developing this effort, and I recently had a chance to share an update along with a demo running on a real Apple TV device at BlinkOn 21 in 2026. In this post, I’d like to walk through what has changed since the initial prototype, what works today, and what challenges still remain.
A quick recap
Apple TV runs tvOS, which is derived from iOS, but it comes with important differences. Most notably, tvOS does not provide a WebKit WebView for third-party applications. This means that any application requiring web functionality needs to embed its own web engine. This constraint was one of the key motivations behind exploring whether Blink, originally being ported to iOS, could also be adapted to tvOS.
While the idea sounds straightforward, the reality is more complicated. tvOS lacks several low-level system APIs required for Chromium’s multi-process architecture, which makes it impossible to use the standard process model. On top of that, BrowserEngineKit, which the iOS Blink effort relies on, is not available on tvOS. There are also platform restrictions such as the lack of JIT support, and the input model is fundamentally different since Apple TV relies on a remote control rather than touch or pointer-based interaction. Because of these constraints, our goal has not been to build a full-featured browser, but rather to enable Blink-based web capabilities in a way that works within the limitations of the platform.
Progress over the last year
Over the past year, we have made steady progress toward that goal. One of the most significant milestones is that we have upstreamed the initial tvOS implementation. This means that the work is no longer just an isolated experiment, but part of the upstream Chromium codebase. As part of this effort, we enabled content_shell running on the tvOS simulator and on actual Apple TV devices. Moving from simulator-only execution to running on real hardware was an important step, as it allowed us to validate real-world behavior and platform integration.
We have also improved platform integration in several areas. Crashpad support has been added, and input handling for the Apple TV Remote has been significantly improved. The latter is particularly important because navigating web content with a remote requires a focus-based interaction model, which is quite different from what Blink typically assumes on desktop or mobile platforms.
On the web platform side, we have enabled a number of features that make it possible to run more realistic content. WebAssembly now works in interpreted mode, which allows execution within the constraints of the platform. We have also enabled VP9 software decoding and verified hardware-accelerated decoding for H.264 and H.265. These improvements are essential for media playback scenarios and were necessary to support the demo content.
To support ongoing development, we also set up reference bots for tvOS builds and tests. This helps ensure that the port can be maintained over time and reduces the risk of regressions as upstream Chromium continues to evolve.
Demo on a real device
This demo shows playing a YouTube video in content_shell running on a real Apple TV device. The demo also showed that we can navigate the video using the remote controller, which highlights the progress we’ve made in adapting Blink to the tvOS interaction model. While simple, this demonstration is an important milestone because it proves that Blink can run real-world web content on actual hardware.
Current limitations
Despite this progress, several challenges remain. One of the most noticeable issues is build stability. The tvOS port has been broken frequently, mainly because both the iOS and tvOS ports are still experimental and not always considered in upstream changes. In particular, configurations such as the WebAssembly interpreter mode are not consistently handled by all changes, leading to breakage.
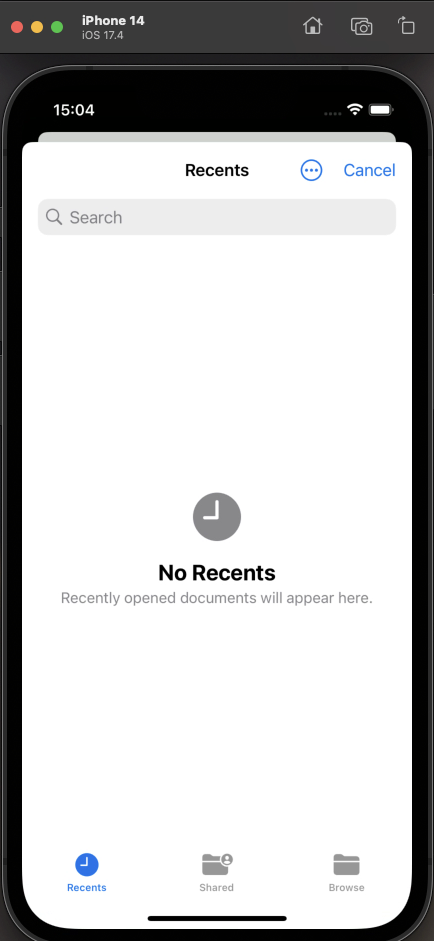
Testing is another area where limitations are evident. Since the port relies on a single-process model, running web tests is currently not supported, which makes it harder to validate correctness and compatibility. There are also platform-level gaps, such as missing accessibility support and the absence of certain UI components like file choosers and color pickers. As a result, some web pages do not behave as expected on tvOS.
Next steps
Looking ahead, our focus is on improving the robustness and maintainability of the port. This includes stabilizing the build, expanding test coverage, and investigating ways to run web tests in a single-process environment. We also plan to keep the port up to date with the latest tvOS SDK and continue maintaining it in upstream Chromium.
Closing thoughts
Over the past year, Blink for tvOS has evolved from an initial experiment into a working upstream port that can run on real devices. While it is still early and many challenges remain, the progress so far shows that it is possible to bring Blink-based web capabilities to a constrained platform like tvOS. We will continue exploring this space and see how far this effort can go.
Finally, I would like to thank all the contributors, reviewers, and sponsors who made this work possible.
Igalia Contributors
- Abhijeet Kandalkar
- Gyuyoung Kim
- Jeongeun Kim (Julie)
- Raphael Kubo da Costa


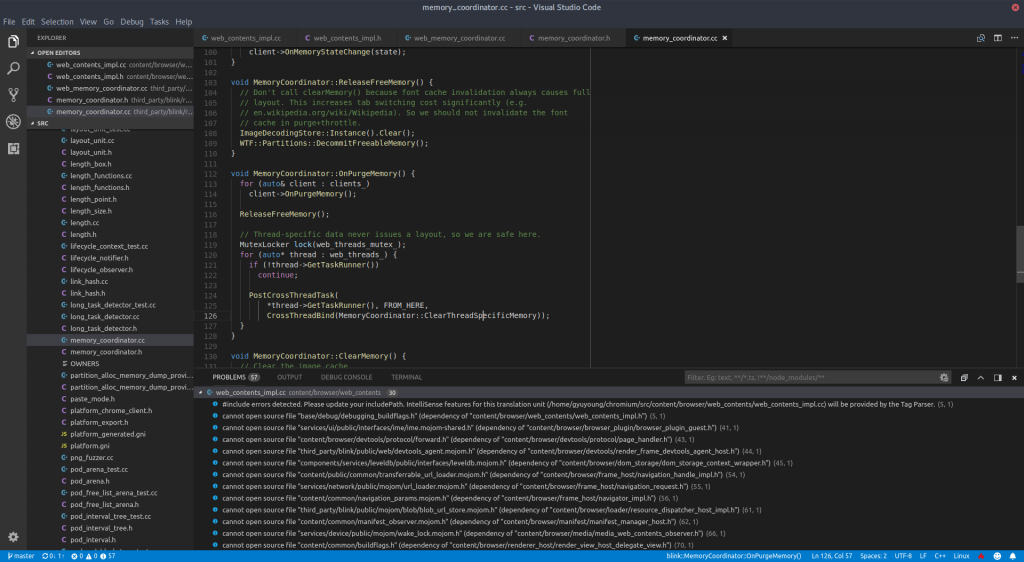
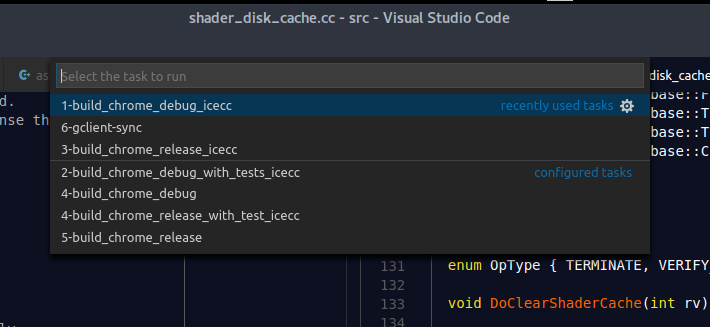
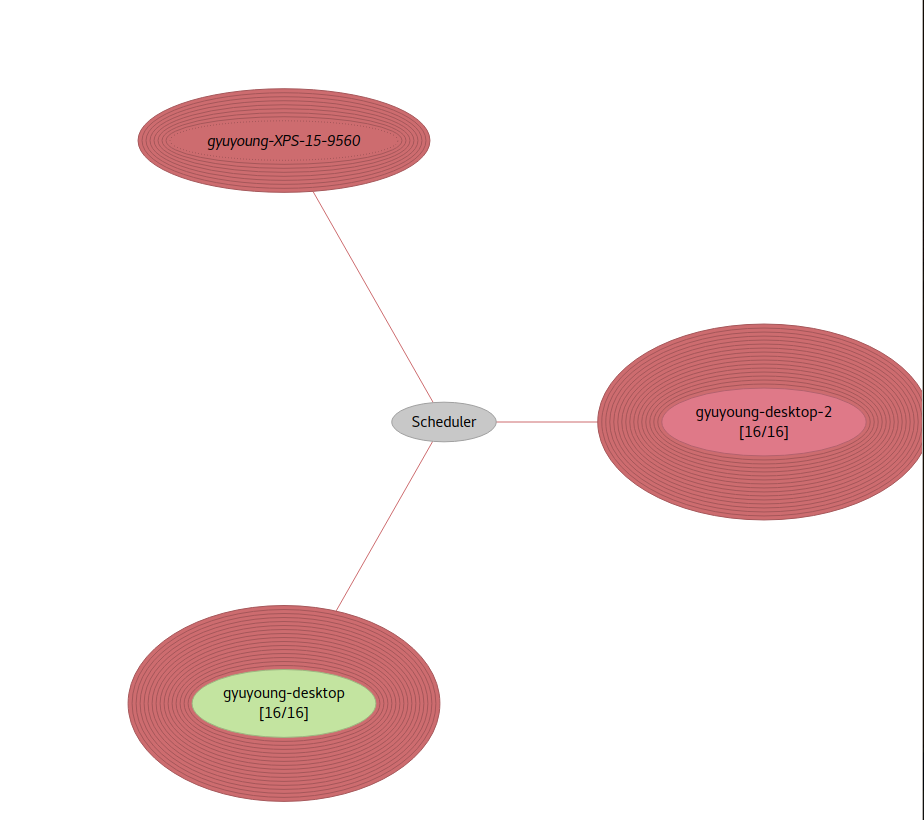
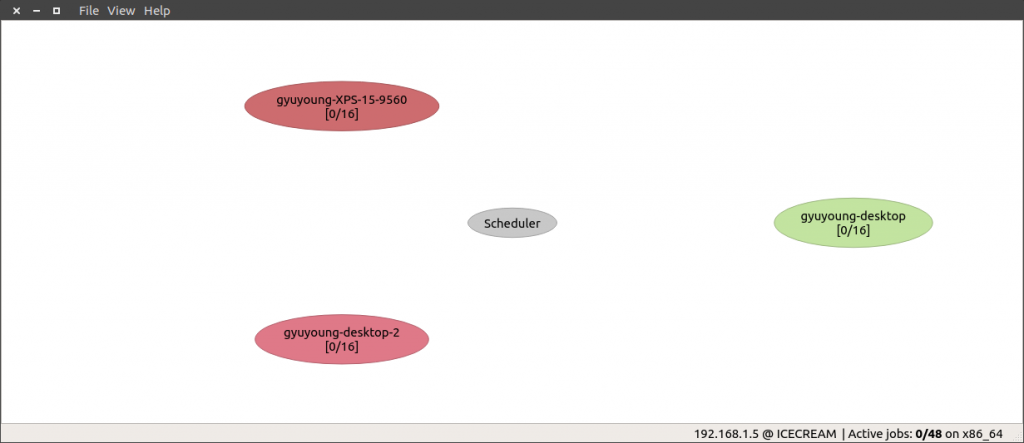
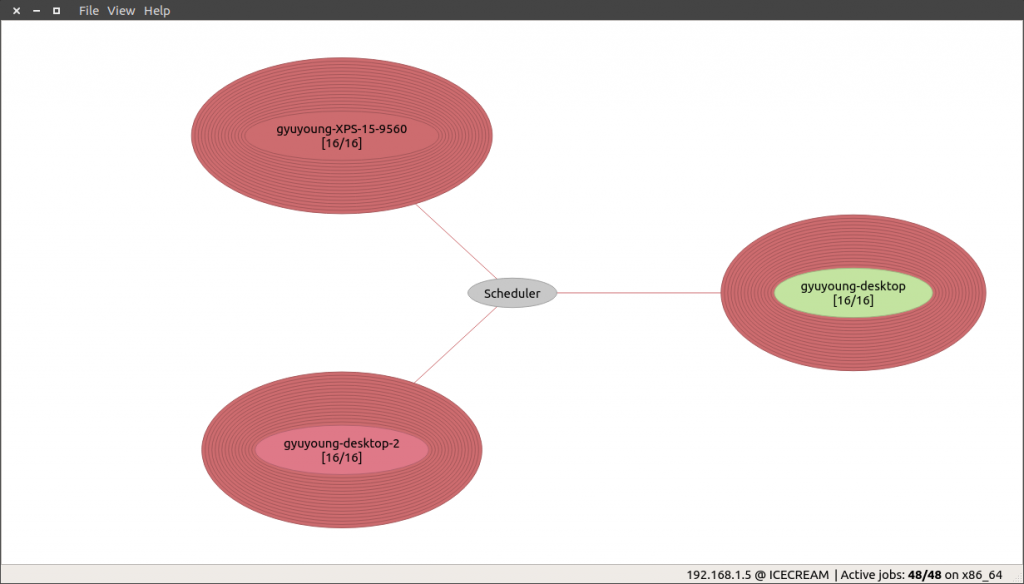
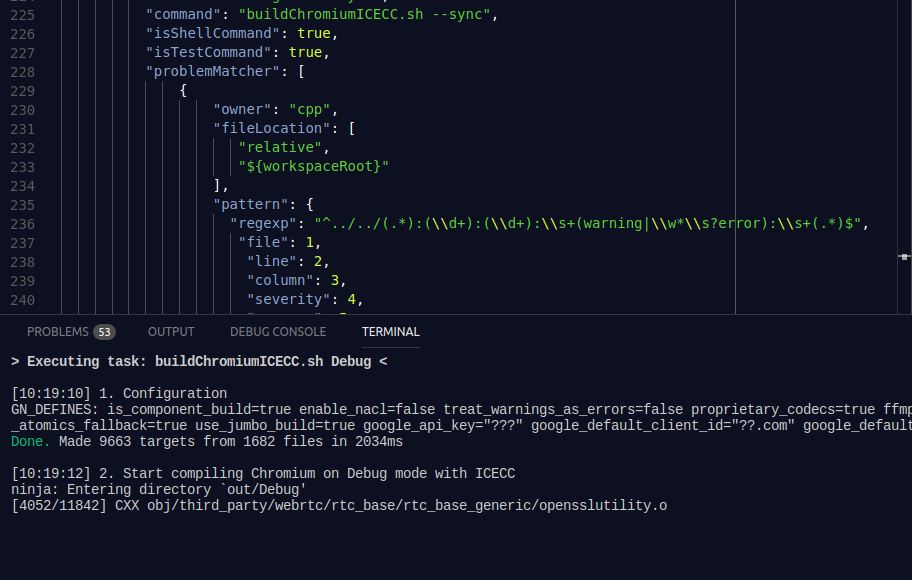 On the ICECC monitor, you can see that VS Code builds Chromium by using ICECC.