Manually triggering Swarming tasks
This is the second post in a series about Swarming, the system powering Chromium’s CI. Unless you’re already familiar with it, you should probably first read the previous post, as it explains the basics of triggering Swarming tasks. Today, we’ll dive deeper into Swarming’s internals to see the different parts working together in the background.
This post won’t explain how to do more than what we already saw in the last post, but there will be one more post about Swarming, where we’ll make use of this post’s findings and explore how to use ResultDB to get a nice graphical view of the test results.
Peeking behind the curtain
Let’s take a look at what tools/run-swarmed.py from the first post does to trigger a Swarming
task. Feel free to check the code for run-swarmed.py as well.
Generating the isolate
The first thing run-swarmed.py does is to generate an isolate. “An isolate is an archive
containing all the files needed to do a specific task on the swarming infrastructure. It contains
binaries as well as any libraries they link against or support data. An isolate can be thought of
like a tarball, but held by the CAS server [explained later] and identified by a digest of its
contents.” (source)
The isolate is generated using tools/mb/mb.py isolate, which takes a path to your build directory
and the target you want to isolate. For example:
will first build interactive_ui_tests and then create out/Release/interactive_ui_tests.isolate:
autoninja -C out/Release interactive_ui_tests
Proxy started successfully.
ninja: Entering directory `out/Release'
build finished
43.39s Build Succeeded: 90 steps - 2.07/s
RBE Stats: down 54.91 MB, up 0 B, 84 cache hits, 3 racing locals
/home/igalia/chromium/src/tools/luci-go/isolate check -i out/Release/interactive_ui_tests.isolate
Isolate:   /home/igalia/chromium/src/out/Release/interactive_ui_tests.isolate
Config:    map[]
Path:      map[EXECUTABLE_SUFFIX:]
If we take a look at the isolate file’s contents, we can see that it’s just a JSON file containing the command to run the target and the list of files:
I think the command is in there for tools/luci-go/isolate run, which maps all the isolate’s files
into a temporary directory and runs the command in that directory. I’m not sure what exactly that’s
used for, though. We’ll take a look at how mb.py figures out the command below.
You might have noticed that mb.py isolate called tools/luci-go/isolate check for the newly
generated isolate. This just verifies that all the files listed in the isolate exist.
Again, if you’re interested in the code, check out the source for mb.py and the
source for tools/luci-go/isolate.
Uploading the isolate
We now know all the files that are necessary to run the tests you’re interested in, but they’re
still only on your local machine. For a bot to run the test, we need to upload everything to a CAS
server. CAS stands for Content-Addressable Storage, and such a server holds isolates for bots to
fetch and run (among other things). In our case, we always use Google’s chromium-swarm CAS server.
To upload an isolate, use tools/luci-go/isolate archive. For example, this uploads the isolate we
generated above:
Uploading can take a few minutes, as it may upload a few gigabytes:
[I2024-12-05T16:27:57.012850+01:00 92397 0 client.go:245] context metadata: contextmd.Metadata{ActionID:"f4b73bcc-1be5-4896-98f5-9fe76a0dcaa2", InvocationID:"8f81b52d-58d6-4124-8b35-910ee3aee3ea", CorrelatedInvocationsID:"", ToolName:"isolate", ToolVersion:""}
[I2024-12-05T16:29:18.734112+01:00 92397 0 common.go:365] finished upload for 31226 blobs (15 uploaded, 1894018753 bytes), took 1m20.066288996s
Hits    : 31211 (1.09GiB)
Misses  :    15 (1.76GiB)
Duration: 1m21.722s

uploaded digest for /home/igalia/chromium/src/out/WaylandRelease/interactive_ui_tests.isolate: 086406c443a86cf31dcd8d59103c20cced1d6c554f5d16d834d030d7db329951/973
All the isolate’s data is split into blobs, which are uploaded separately. I’m unsure how exactly the files are split into blobs, but it doesn’t really matter here. A blob is only uploaded when not already present on the server, to save both server storage and client upload bandwidth. This can happen
- when you already uploaded a similar isolate yourself, e.g. uploading a new isolate after changing only a few source files and rebuilding; or
- when blobs are shared even across unrelated builds, e.g. for image files, test data, and
compilation output for common code like
//base(if compiled with the same build settings).
The command’s output will tell you how much it actually uploaded and how much was already present on the server. In the case shown above, almost half the isolate’s data had already been uploaded before.
You also get a digest that you pass to a bot so it can download the files. For a given digest
$DIGEST, you can view its contents at
https://cas-viewer.appspot.com/projects/chromium-swarm/instances/default_instance/blobs/$DIGEST/tree.
For our isolate, it looks like this:
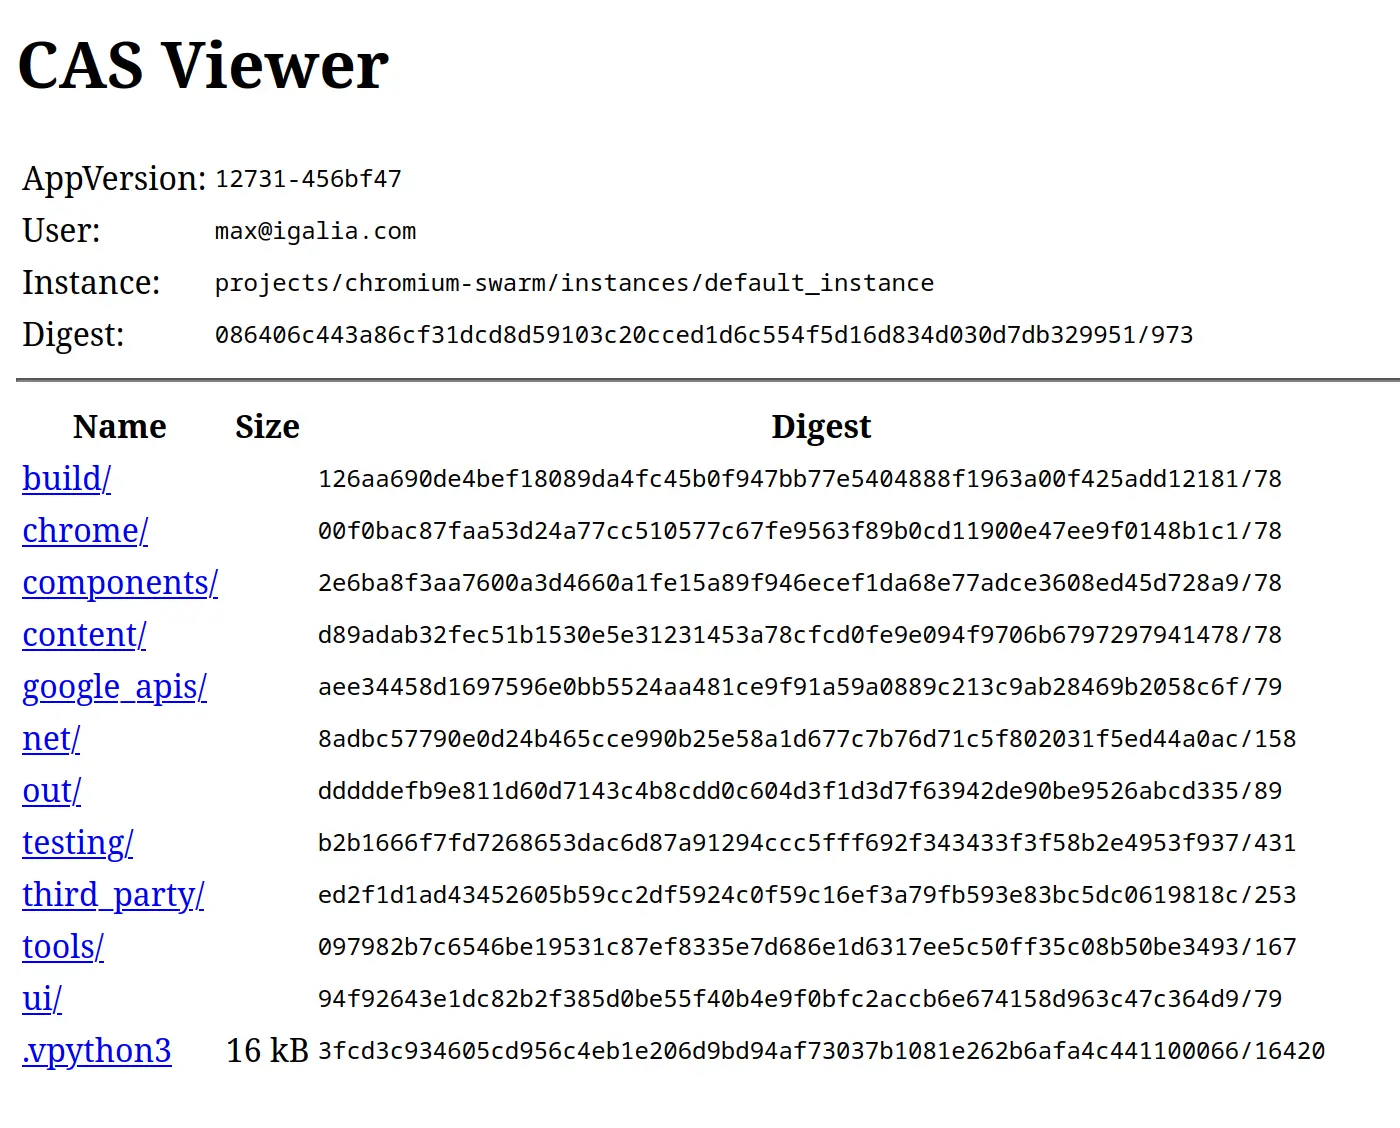
The CAS contents for the isolate we uploaded. Note that the CAS server doesn’t keep isolates indefinitely, so the link may not be valid any more.
Generating the command to be run
You might have noticed you don’t actually have to pass the command to run the tests to
run-swarmed.py. We also saw that the command somehow ends up in the isolate file. mb.py has
quite a few subcommands, and one of them is get-swarming-command, which is used by
run-swarmed.py, and also by mb.py isolate to populate the isolate’s command variable.
Sticking with our default example, running this:
prints the following command (backslashes added by me):
Let’s digest that bit by bit:
vpython3is Chromium’s wrapper around Python’s virtual environments. See the vpython docs for more.testing/xvfb.pyprovides an X server or Wayland compositor for tests.interactive_ui_testsis the test suite that we want to run.--test-launcher-bot-mode“Sets defaults desirable for the continuous integration bots, e.g. parallel test execution and test retries.” (source) It also suppresses all console output for successful test cases.--asan=0 --lsan=0 --msan=0 --tsan=0 --cfi-diag=0are all for different sanitizers to detect memory errors or data races. See e.g. Chromium’s ASan docs.--snapshot-output-diris used by some test utility functions that save screenshots to help with debugging. I’ll explain the meaning of theISOLATED_OUTDIRenvironment variable later.
To generate this command, mb.py uses:
- the GN args, e.g. to figure out the target OS and whether any sanitizers should be run;
- an isolate map, usually
infra/config/generated/testing/gn_isolate_map.pyl, which contains metadata for all test targets like the test type (runs in the console / launches a new window / etc.) and additional command line flags to be passed; - and some extra heuristics, e.g. windowed tests on Linux are run via
testing/xvfb.py.
Triggering the Swarming task
We’ve already seen tools/luci-go/isolate being used for uploading isolates. In the same directory
is another binary, which allows us to trigger Swarming tasks: tools/luci-go/swarming. This is also
what run-swarmed.py uses to trigger Swarming tasks.
The full command used by run-swarmed.py usually looks something like this:
Once again, this is quite a mouthful that we’ll dissect line by line:
-S https://chromium-swarm.appspot.comspecifies the Swarming server to use. In our case, it will always be this server.-digest <digest>specifies the isolate for the task to download. In the actual command<digest>is replaced by the one we got fromtools/luci-go/isolate archive.-dump-json <json_file>controls if and where to save a JSON file with metadata about the spawned task.<json_file>usually isresults/0.json.-tag=purpose:user-debug-run-swarmedadds the given metadata tag to the spawned task. I suppose this is for gathering statistics. You can check yourself which tasks where created usingrun-swarmed.pyby visiting https://chromium-swarm.appspot.com/tasklist?f=purpose-tag%3Auser-debug-run-swarmed.-priority 30ensures our task won’t be stuck pending for too long, as 30 is the same priority that the CQ trybots’ tasks use. The default priority is 200, which most likely will you make quite a bit for the task to be picked up by a bot.-service-account ...specifies the “Email of a service account to run the task as” (fromtools/luci-go/swarming help trigger). I’m not sure what effect this exactly has, but you might get permission errors if you omit it. It should be fine not to pass this for simple tasks, but e.g. what we’ll do in the third post won’t work without a service account. If you need to use one,chromium-tester@chops-service-accounts.iam.gserviceaccount.comshould do the trick.- The next three args specify so-called dimensions, which are used to find a bot to run the
task.
-d cpu=x86-64 -d os=Linux -d pool=chromium.testsmeans “I want a bot with an x64 CPU running Linux from the chromium.tests pool of bots”.
--relative-cwd out/Releasespecifies the directory, relative to the isolate root, in which the command will be run.- After
--comes the command that the Swarming bot will run. The first three lines are just the output ofmb.py get-swarming-command. After that,run-swarmed.pyadds two more flags:--test-launcher-summary-outputcontrols if and where a JSON file containing the test results should be stored, and for--system-log-fileI’m not sure what it does. Finally, any extra arguments you passed torun-swarmed.pyare appended.
The ISOLATED_OUTDIR environment variable that we already saw earlier points to a directory on the
bot which will be put into an isolate and uploaded to the CAS server after the task finished. This
is so that you can download the logs and results generated by the bot.
Collecting the results
The final step is to wait for the spawned task to complete and collect the results, which is what
the collect subcommand of tools/luci-go/swarming does. This is how run-swarmed.py uses it:
This waits for the specified task to finish, and then prints its stdout contents. If you pass
-output-dir <directory> it will also download the contents of the task’s ISOLATED_OUTDIR to that
directory.
run-swarmed.py gets the task ID from the JSON file that swarming trigger created because we
passed -dump-json. Instead of printing the task’s stdout, it writes it to a text file in the same
directory as the JSON file. For example, if the JSON file is results/0.json, the stdout gets
written to results/0.stdout.txt.
Triggering our own tasks
We now know all we need to manually trigger a Swarming task to let a bot run tests for us! Before putting it all together, allow me to explain why you might want to do that (besides just trying it out for the fun of learning):
- In contrast to
run-swarmed.pyandmb.py run,tools/luci-go/swarming triggerallows you to pass custom environment variables to a task. I’m not aware of a scenario where that is needed, but I still wanted to mention it. - More importantly, triggering tasks manually is the only way to specify the command the bot will
run, instead of just passing additional test flags that get appended to whatever
mb.py get-swarming-commandproduces. We’ll see in the next post why you might want/need to do that.
The following is a small shell script that’s a simplified version of tools/run-swarmed.py. It
doesn’t actually offer any extra functionality (it does less, in fact), but it should be easier to
understand and modify to your needs.
# USAGE: swarming.sh [out directory] [target]
# Default is `swarming.sh out/Release interactive_ui_tests`
OUTDIR=""
TARGET=""
||
DIGEST=
CMD=
If you’ve made it this far, I’m sure you’ll enjoy the next post, where we’ll learn about ResultDB, which gives us the same nice graphical test results that you’re used to from the CQ checks. In the final post about Swarming we’ll then use what we learnt in this post to enable ResultDB for our Swarming tasks.